Information that is vital to the understanding of a product’s usability must be presented no matter if it regards a software application, website, book, tool or anything a human interacts with. But what can you do when you don’t have the space to explain all the things that you want to? Or what can you do if you just don’t find the right words to describe something?
During the last couple of days I struggled with this exact problem trying to make tutorials that explain our products’ usability. I suddenly thought that if a picture is worth a thousand words, how about a video? How many words would a video be worth? Well, apparently, it could actually solve all of my problems.
After creating the first video explaining how to use Rubik Builder (our newest product) I realised that if I am to do this from now on I should start organising my work. This is how this tutorial came to life and the following steps will represent my guidelines from now on regarding video tutorials.
1. Check your sound recording!
Good audio quality is a must in your video. You might be explaining something regarding the greatest product that was ever released, but if you do it with a fuzzy sound your tutorial will definitely fall apart. If you feel that your current microphone is just not enough, I strongly recommend you should buy a new one.
2. Choose a quiet room.
 You don’t have to pay for a professional recording studio but you definitely don’t want your listeners to hear your dogs barking. So keep in mind that when you are recording, you should stay in a quiet place where no other sounds can reach you.
Lock your windows and close your doors when you record. You won’t be able to talk on the phone either, so you should mute it too. Prepare your environment so that your voice will be the only sound in that room.
3. Find a screencasting software.
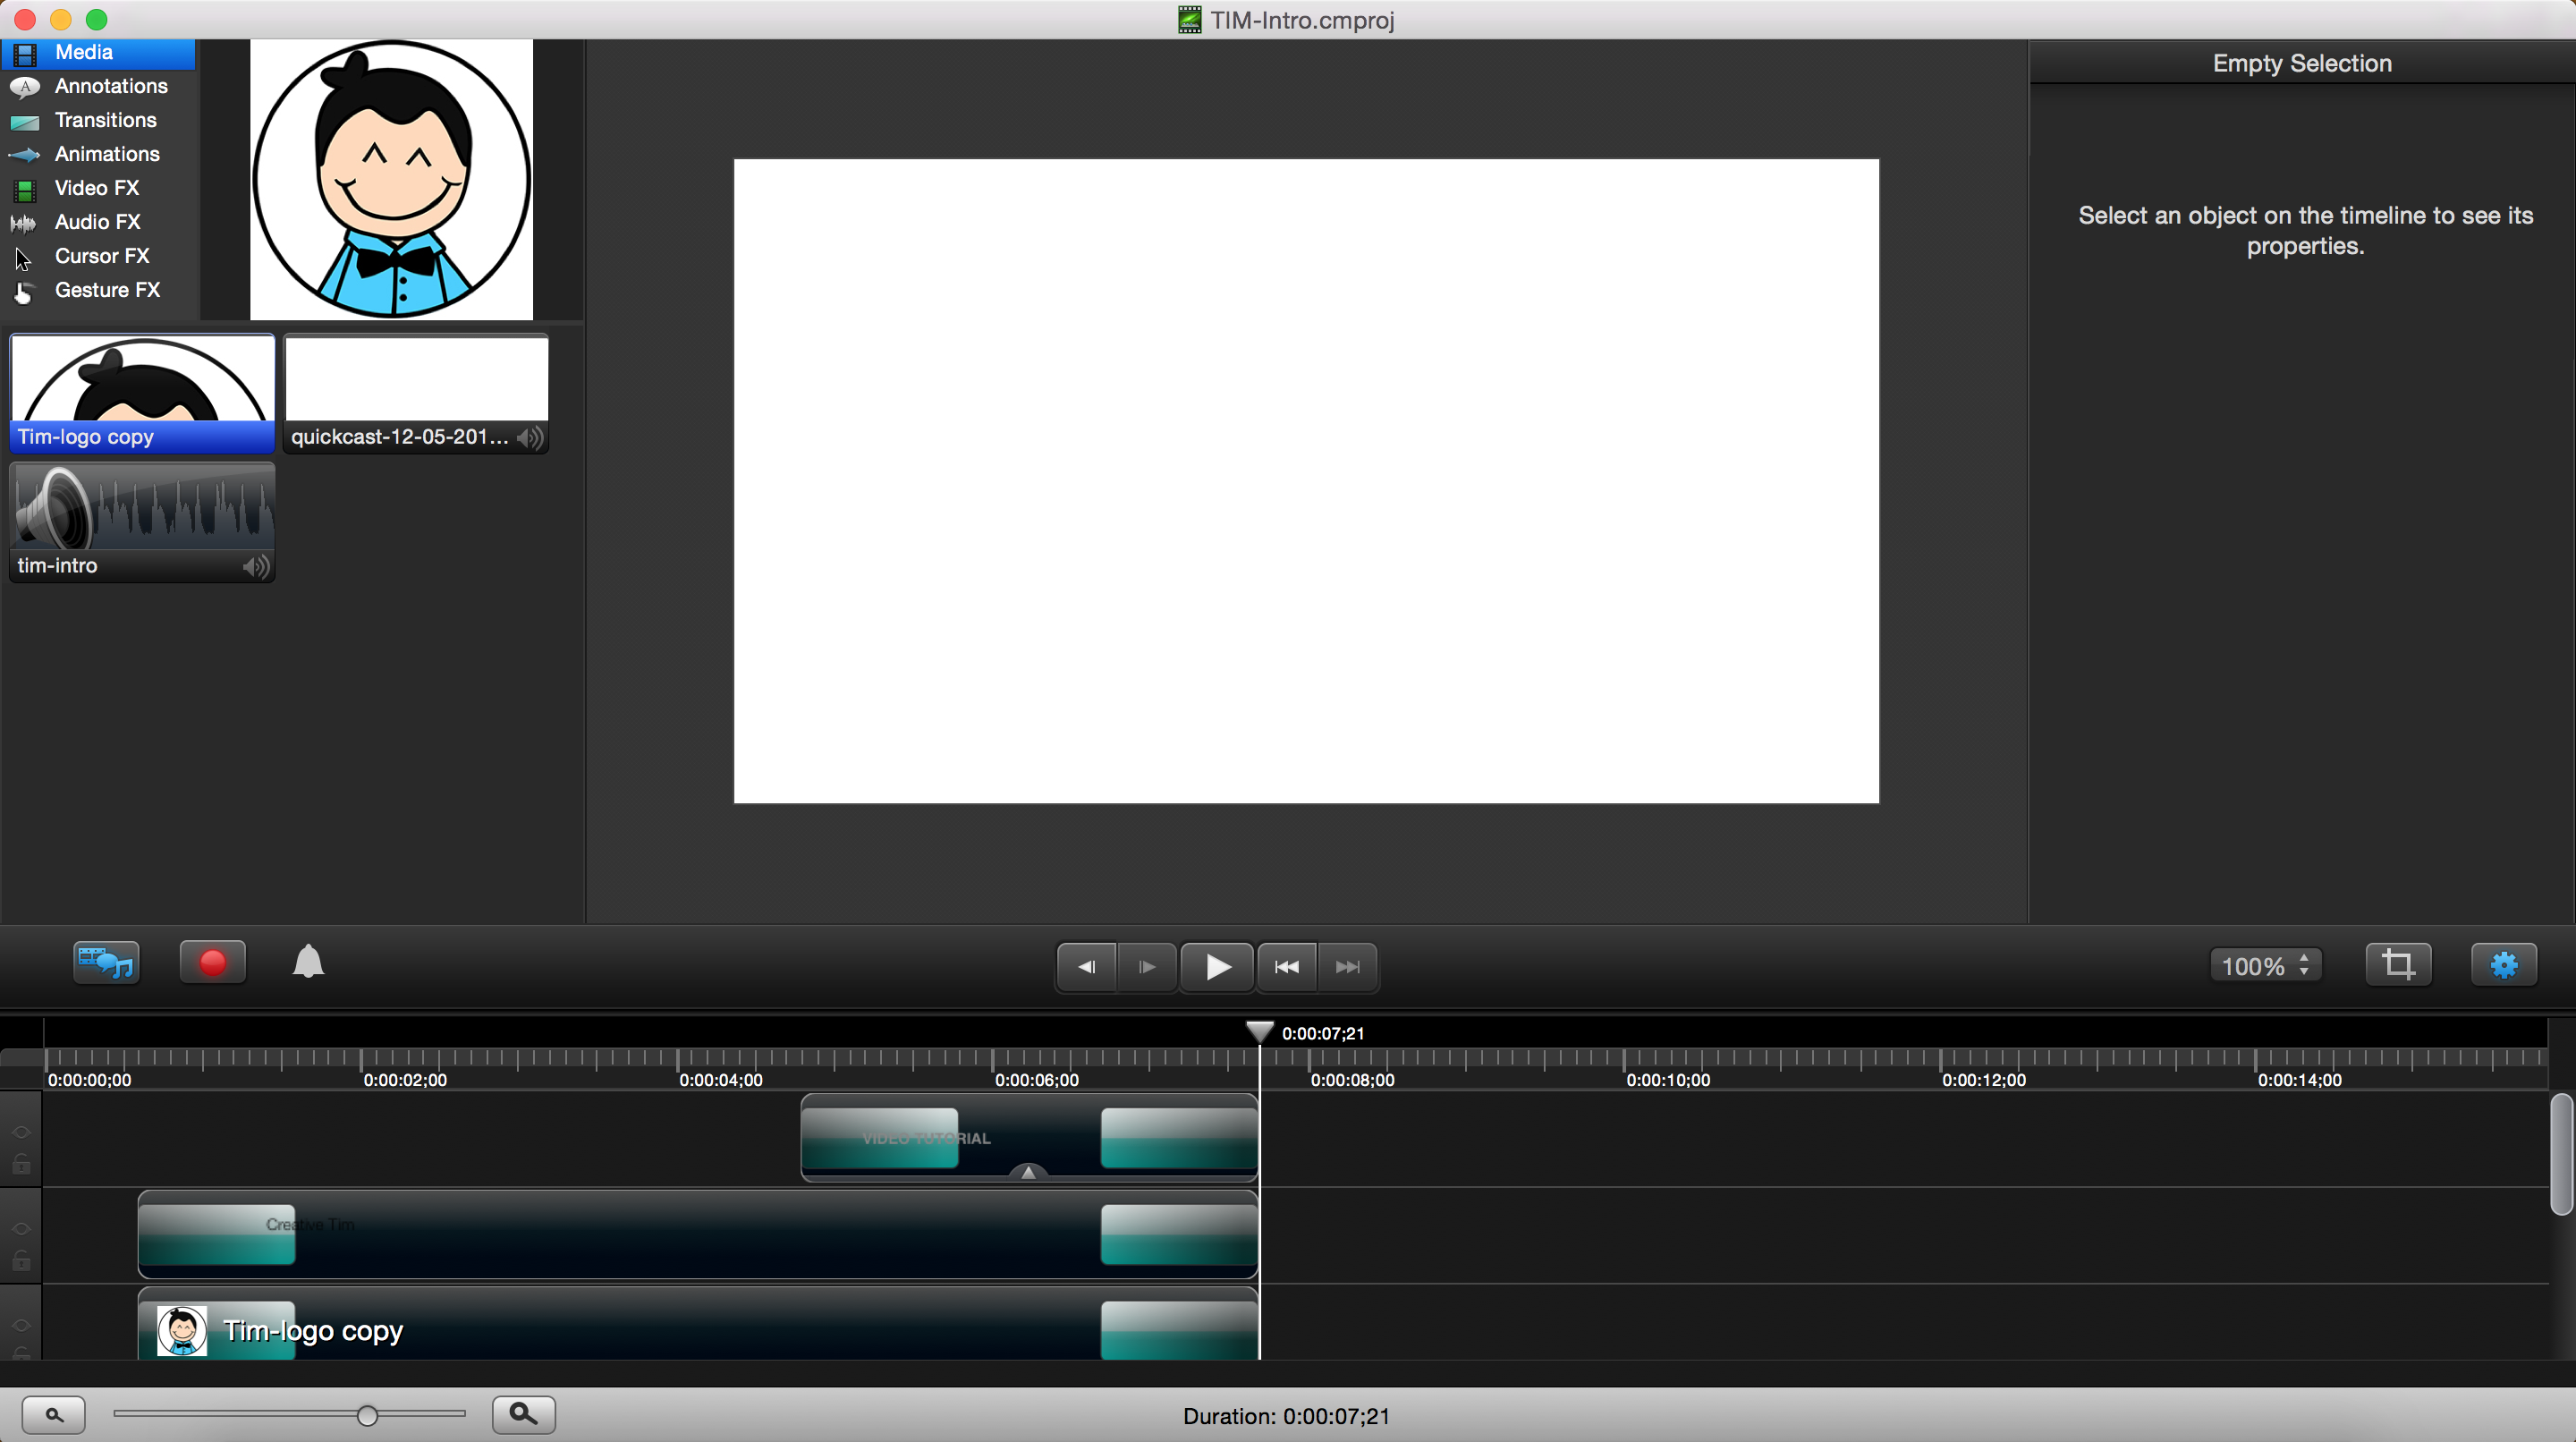
If you are using a Mac you could use iMovie. iMovie is Apple’s basic video editing application, aimed at the amateur consumer. Though the features of iMovie have grown and changed over the years, I don’t use it because I find others more user-friendly. Right now I’m using Camtasia 2 from TechSmith (free trial here). You can use it on Mac and Windows too and you will find it really easy to use on both of them. Another great video editing tool is Veed (www.veed.io). With VEED you are able to create, edit, record, and produce quality videos to promote your brand on social media in a matter of minutes. You can record through your webcam & screen, add audiograms to your podcast videos and add subtitles to any video instantly with more than 100 languages to choose from.
Another great solution I would like to mention is Motionbox. What is nice about this tool is the fact that it helps teams create & collaborate on video content and share ideas together in real-time. You can perform basic video editing tasks, like cutting, trimming, cropping, resize, add music and add subtitles. If you're looking to work with a remote team, then Motionbox is perfect for you!
4. Make a plan.
You need to know exactly what you want to speak about. Put down some words and make a sketch. You don’t want to jabber and start over again every time you forget what you wanted to say.
You could write down a speech and read it while you record. It is a safe way, but you might sound a little bit like a robot. When I record I like to keep it just like in a discussion. I make a quick plan so that I can stay focused on every subject and then I start to speak freely about it.
5. Rehearse.
Rehearse, Rehearse, Rehearse! You need to be focused on explaining things and showing the results in the same time so you probably won’t have any time to be spontaneous. Rehearse your scenario before starting to record to ensure that all the details of the video are adequately prepared and coordinated.
Rehearsing could also help you prepare for any unanticipated activity.
6. Clean your desktop.
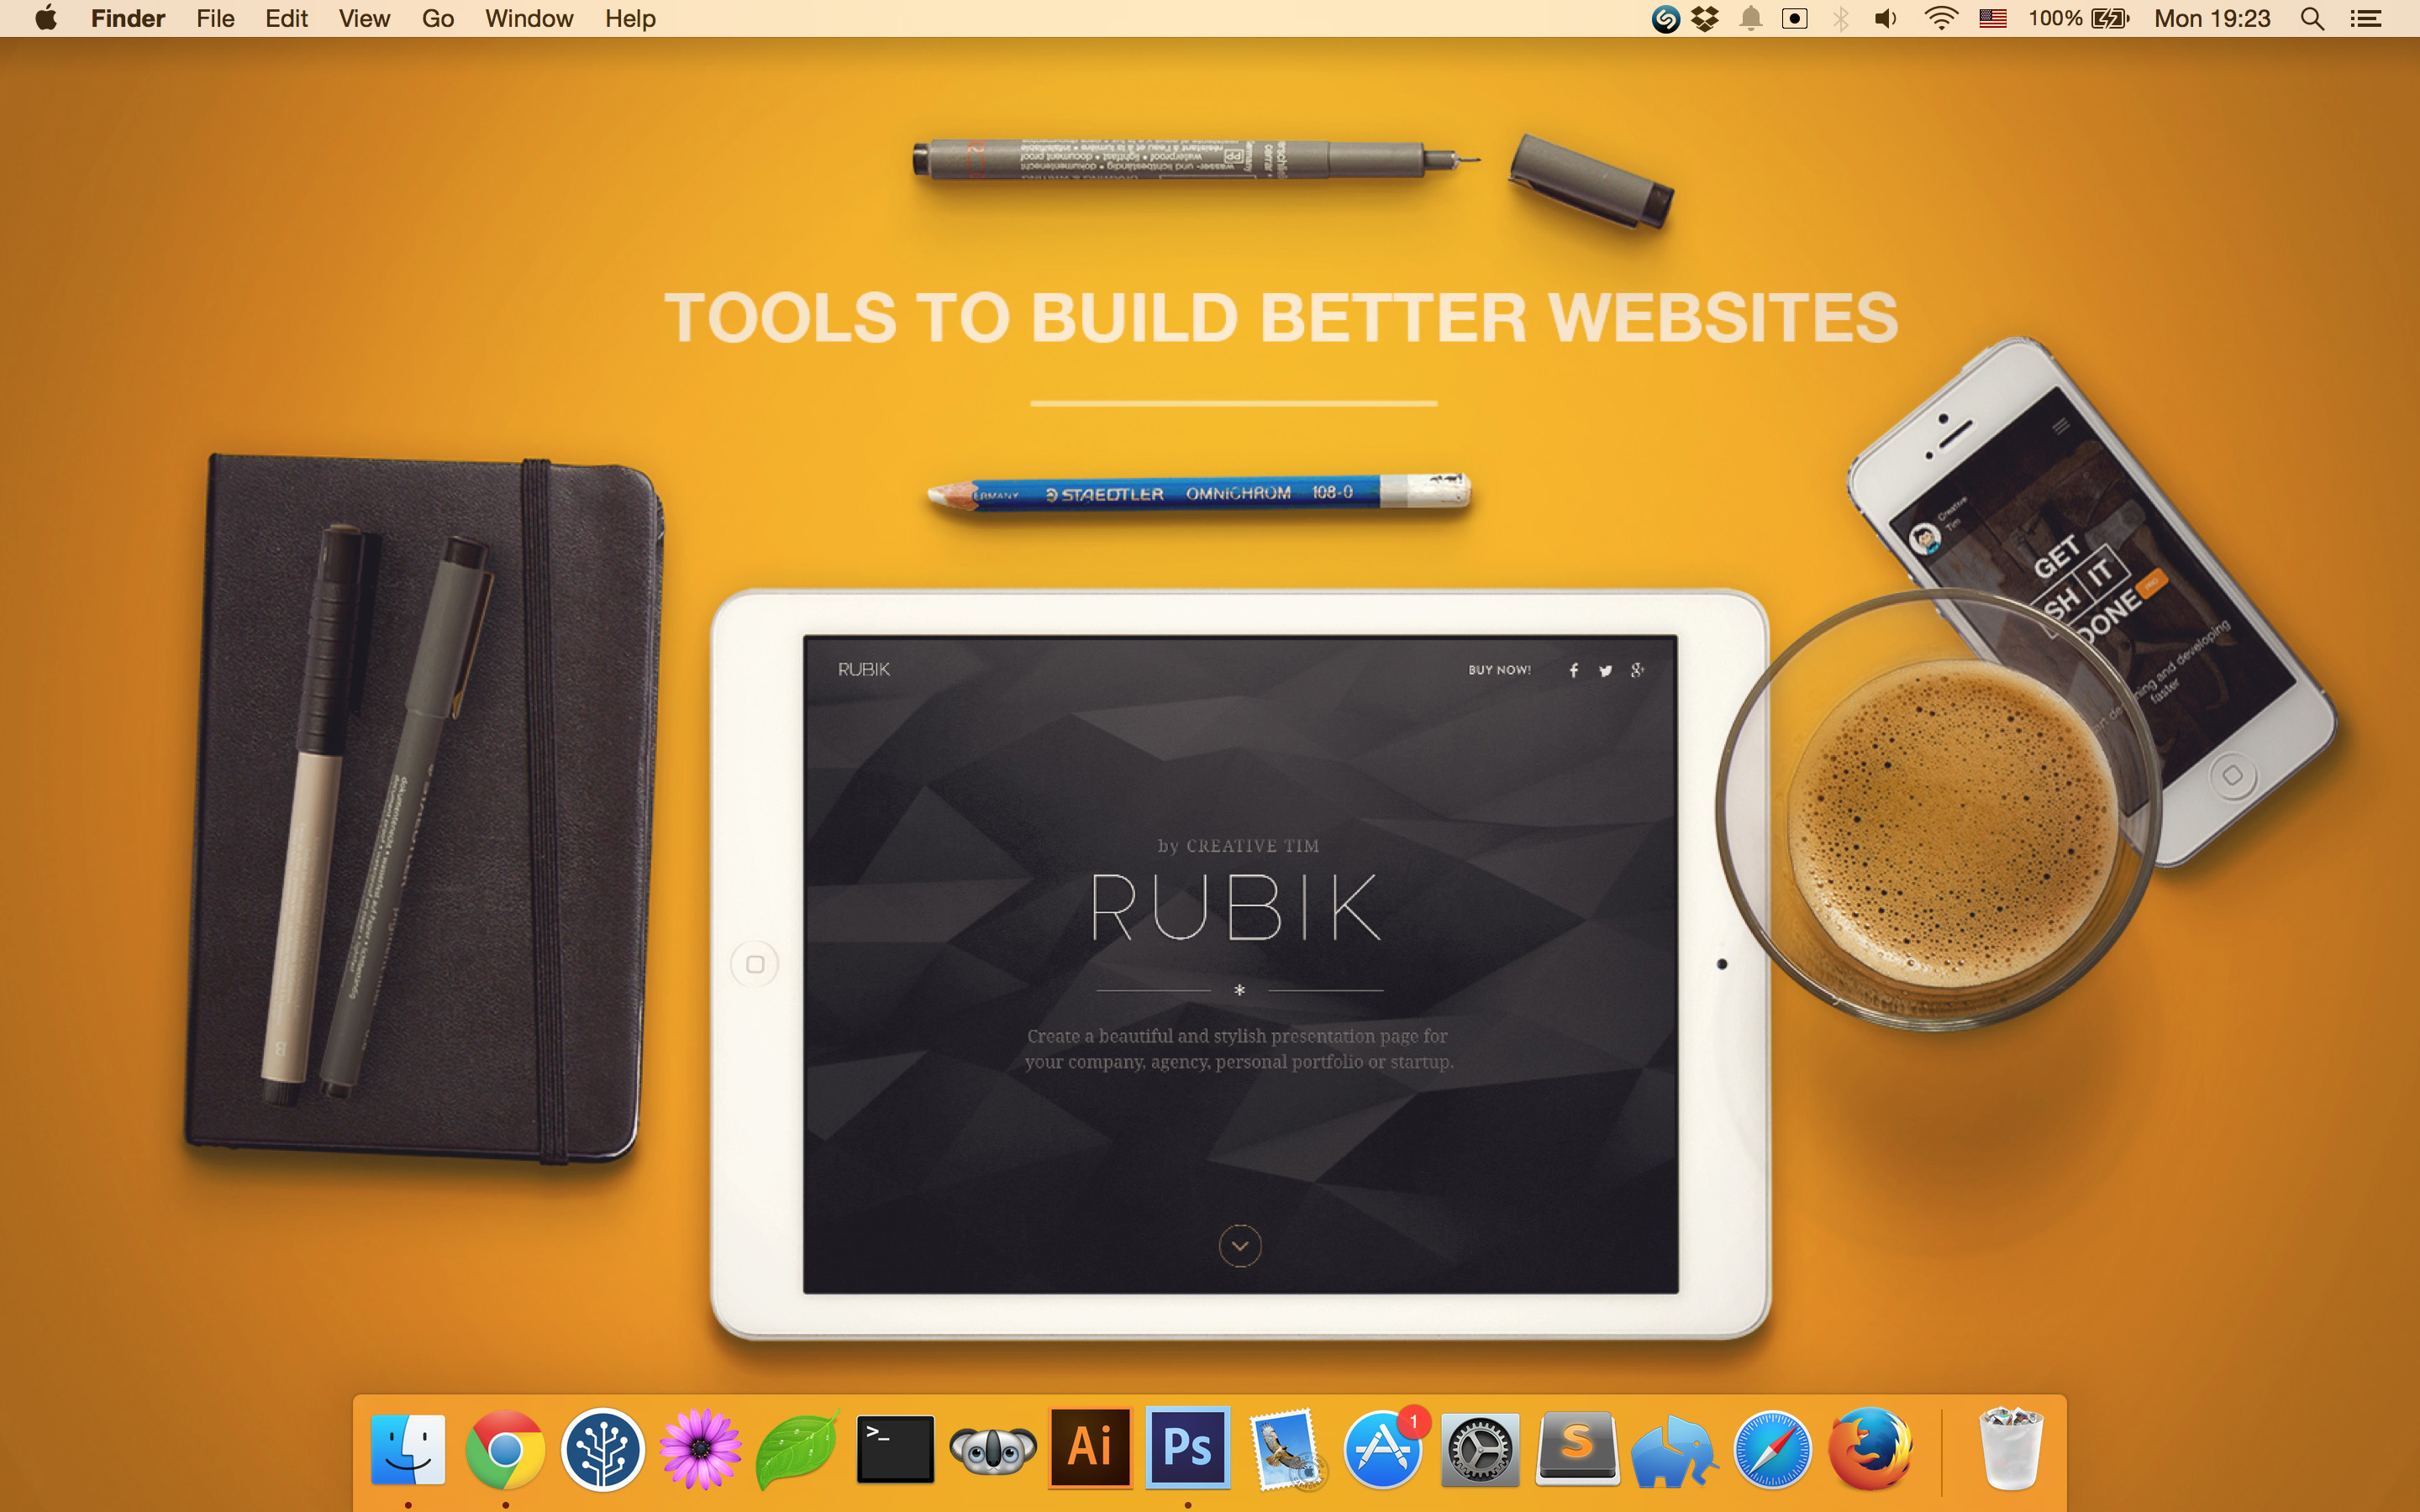
Remove any unused shortcuts on your Desktop. Keep only the ones that you will use during the video. No one wants to see what you’ve downloaded a day before or the other projects you are working on. Keep your desktop clean!
Also, you may want to use a decent wallpaper.
7. Prepare a beautiful showcase.
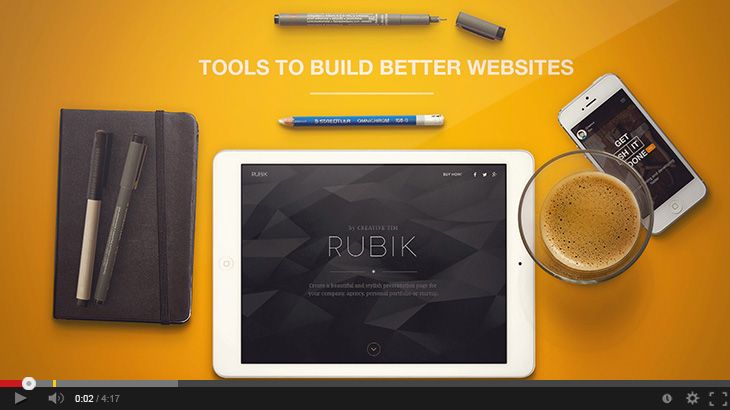
You are making a video tutorial but that doesn’t mean you are not showing off your product. So try using the most beautiful examples. Use nice pictures and clean examples. Make the video useful, but also beautiful.
8. Start by announcing your objectives.
When you start recording you should present your listeners with what you will do during the video. You need to be precise so that any possible listener can learn about your objectives from the beginning. They sould be able to decide from the first seconds if this is what they are looking for, or not. You don’t want to upset people by forcing them to watch your video.
9. Explain your objectives.
Basically this is where you start recording your tutorial. After completing all of the steps described above you can start recording the actual tutorial. Keep in mind that you need to be precise and keep it short. If you are creating a tutorial that needs to be longer you should consider splitting it in more parts.
10. Show results!
After following these steps, you should present what you explained during the video. Take a quick tour again and then thank people for watching it!


![15+ Top Black Friday & Cyber Monday Deals for Developers and Designers [2023]](/blog/content/images/size/w960/2021/11/black-friday-deals-developers-1.jpg)
